background
In 2012 or 2013, I stumbled across the Wikipedia page for Bed Sizes [1] and discovered that the UK had two sizes larger than America's King or California King:
The Emperor (7'x7') and The Caesar (8'x7')
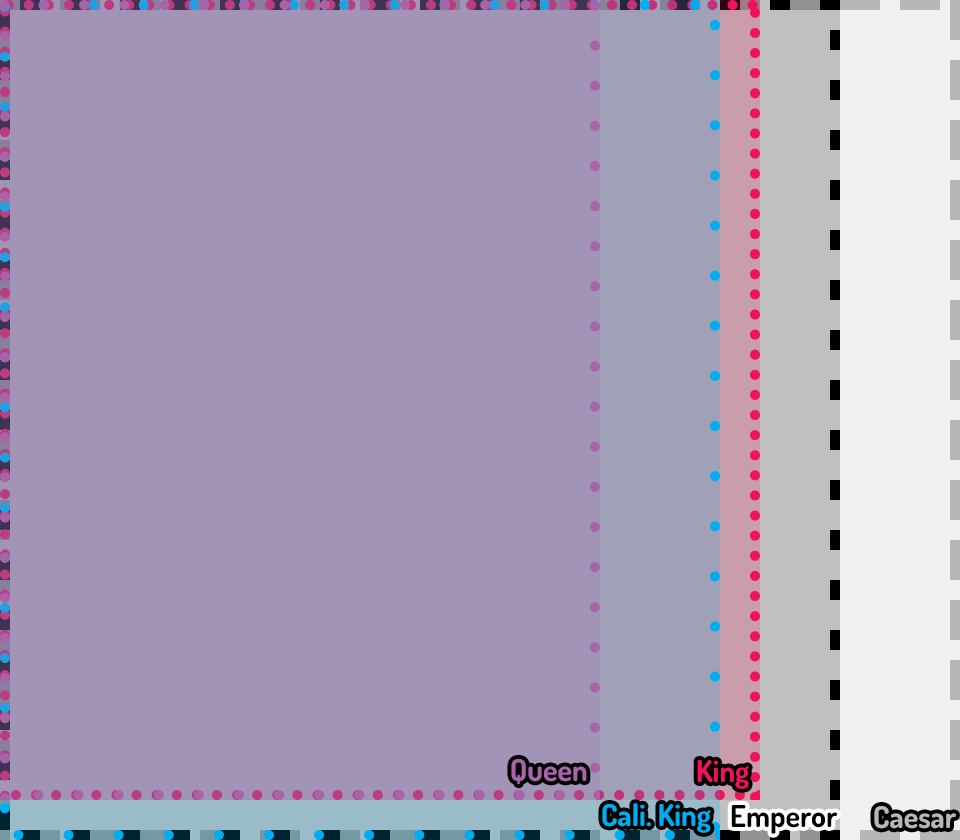
Despite previously having minimal interest in beds, I resolved to eventually get an Emperor bed (I liked its square shape and felt the Caesar was a bit too big) to replace my Queen if I ever got the space. A bit later I learned that most UK mattress websites ship internationally, and in 2016 I finally moved into a condo with a loft that could be extended to the right size.
Upon completion of renovations to my loft in mid-2017, I learned that the UK websites would not ship mattresses to the United States. Additionally, American furniture companies that make custom beds would not make larger-than-standard mattresses as they only cut down from existing models.
At this point, I decided the only thing that made sense was to build my own mattress from scratch.
research and planning
Most of my research ended up being through a forum called The Mattress Underground, a community of mattress enthusiasts. I immediately discounted anything that involved springs or novelty things like waterbeds. I don't like memory foam as it makes me feel like I am indefinitely sinking.
I decided to go with a 7" layer of latex foam as a base as it is form-fitting and relatively cool. Many modern bed companies use a combination of latex and polyurethane layers to save money, but one continuous latex layer would be more robust and last longer.
On top I would put 2" of buckling column gel, which is a squishy material similar to a bottomless rubber ice cube tray. The gel is very cooling due to low surface contact, and the flexible material is very supportive regardless of one's position in bed.
acquiring materials
After receiving some helpful advice on The Mattress Underground from users including site administrator, Phoenix, I was ready to start. I got the following in no particular order:
buckling column gel
I was unable to find any company willing to sell me sheets of buckling column gel directly. One sales rep told me he could do it only if I were a mattress manufacturer, and while I briefly considered incorporating a company on the fly and calling back, I decided against that.
I ended up ordering two queen-sized mattress toppers from Intellibed as they contained the gel. In theory two queens would provide enough gel to cover the square footage of the entire mattress, however each only contained a 4'x4' sheet of gel surrounded by some foam.
Other sources of buckling gel still cost more per square inch of coverage and were usually sold in the form of a non-uniform-height pillow or cushion, so I ended up ordering two more to get enough to cover the mattress.
Everything was glued together, so each topper gel extraction required quite a bit of manual tearing, but the resulting gel with a thin layer of fabric on top would be good for securing the gel sheets together later.
latex foam
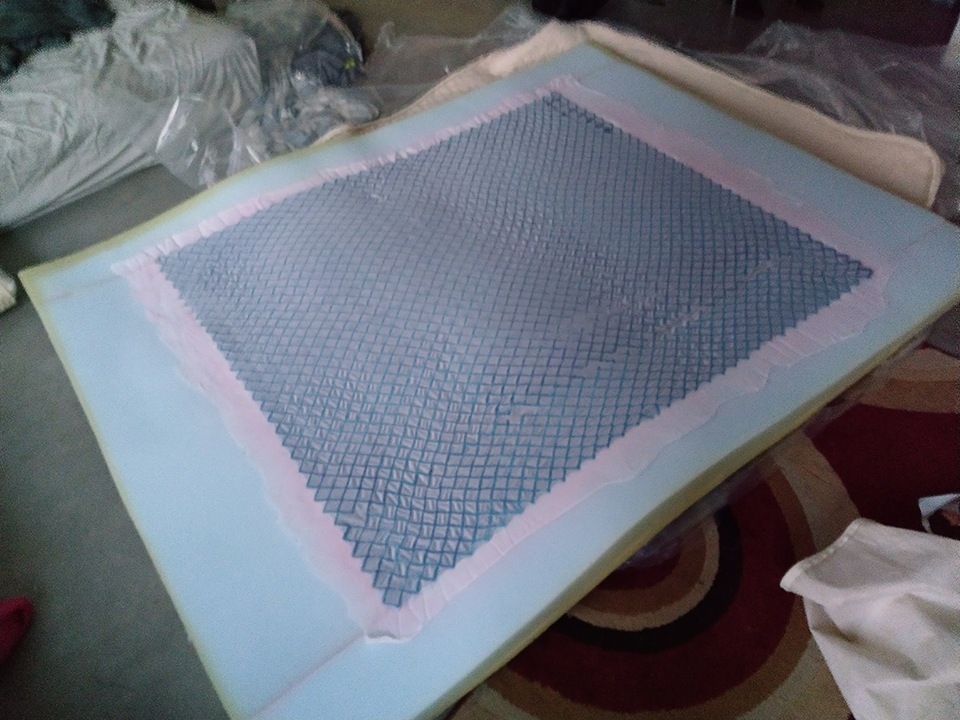
After calling a few companies that sold latex foam, I found that none could make one continuous 7'x7'x7" chunk of latex. I went with foamorder.com, as they were willing to combine a few chunks together to make the right measurements before shipping the latex.
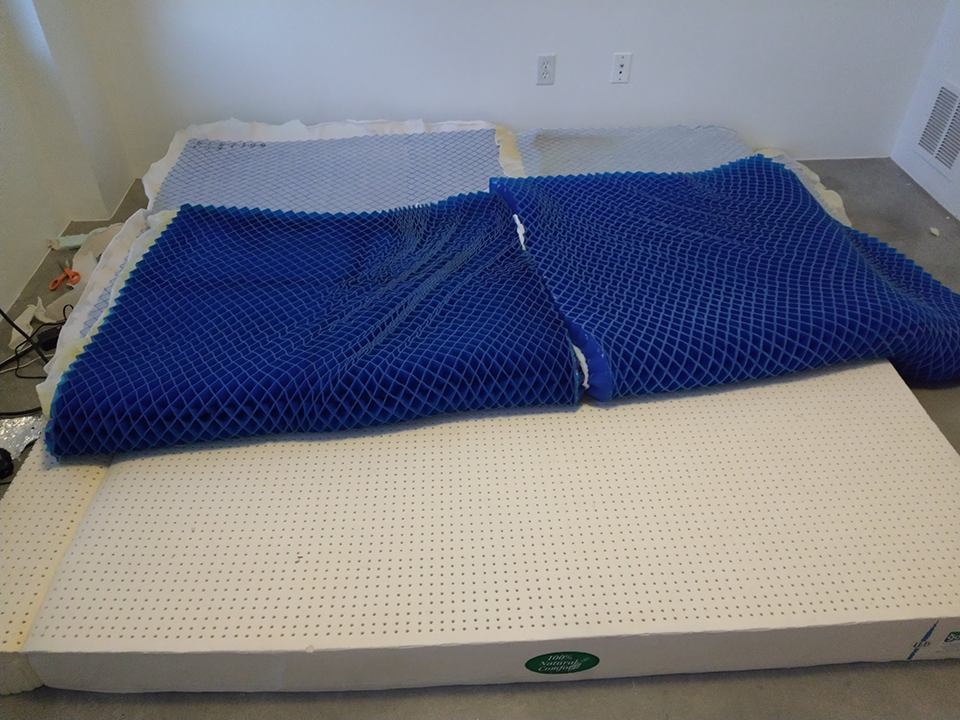
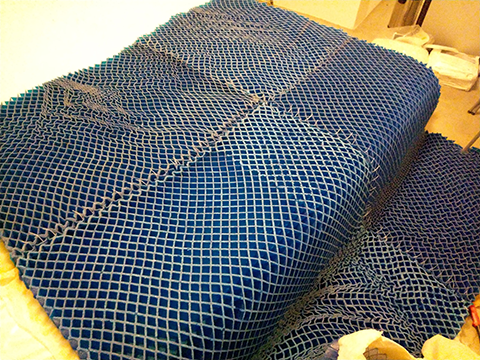
The latex foam with buckling column gel resting on it:
mattress encasement
I ordered a mattress encasement from Mattress Safe. I was able to call them on the phone to get the custom measurements of 7'x7'x9" that I needed.
sheets
I ordered a custom-sized bamboo bed set from Advanced Bedding. Their website had a form where I could just fill in the dimensions so it seemed like it would be the only purchase that didn't involve any human interaction, but they called to confirm anyway as the numbers were "unusual."
assembling the mattress
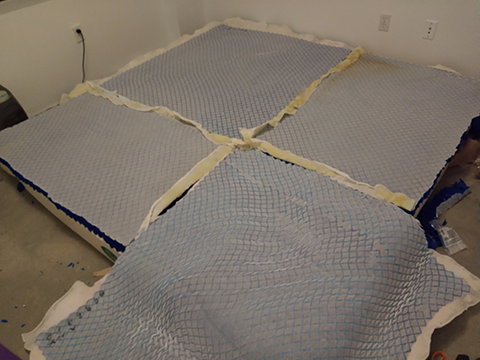
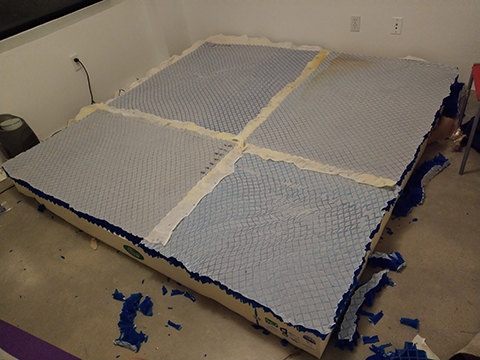
I placed the buckling gel sheets on the latex core and cut off the edeges. It was hard to determine exactly what adhesive to use as I had no idea what buckling column gel was actually made of. I decided to with a hot glue gun. I glued all the edges of the gel to the core and to adjacent gel sheets, and I glued the fabric already attached to the different gel sheets to other fabric.
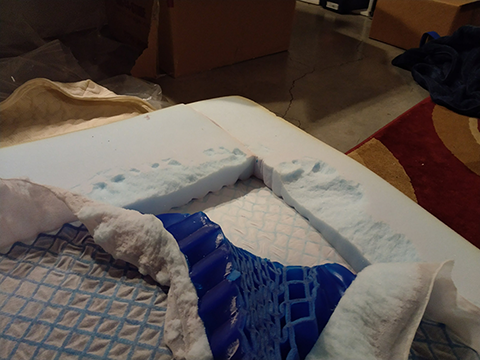
The next day I put the mattress in its encasement. This turned out to be surprisingly difficult as the mattress weighs about 300 lbs and has no rigid structure; I had to call a friend to help.
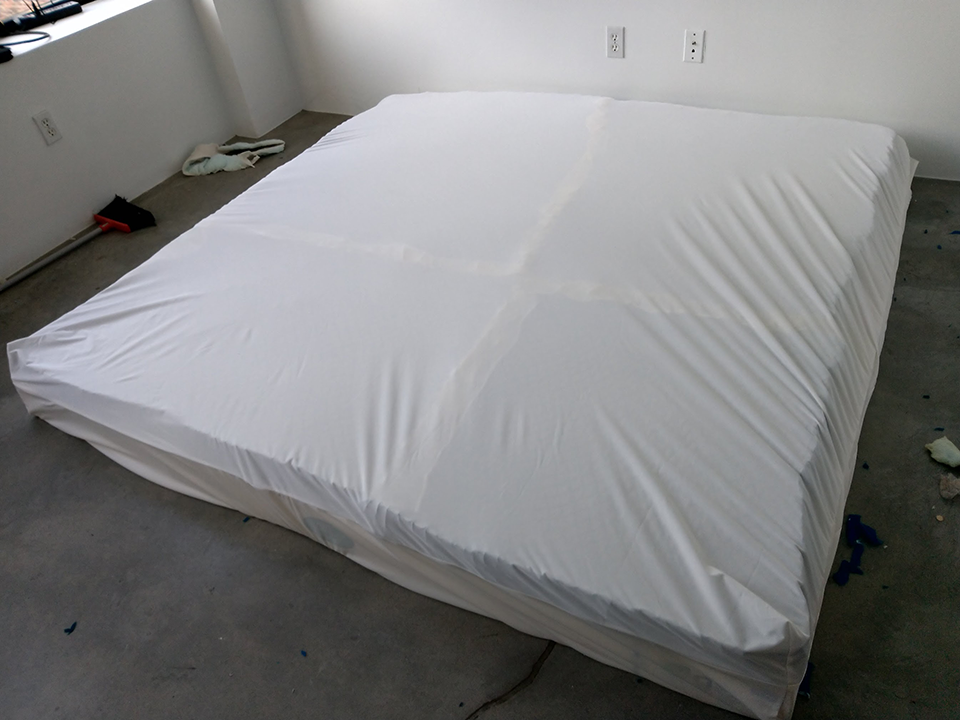
Inside the mattress world!
building the bed frame
I moved while I was building the mattress, so I was no longer able to use the loft as a frame and had to build my own.
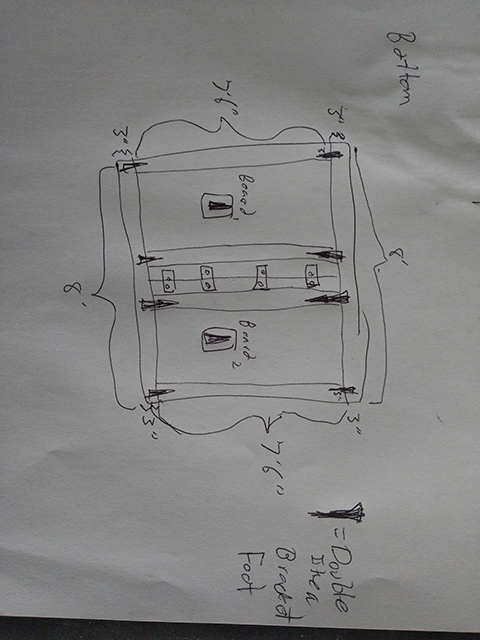
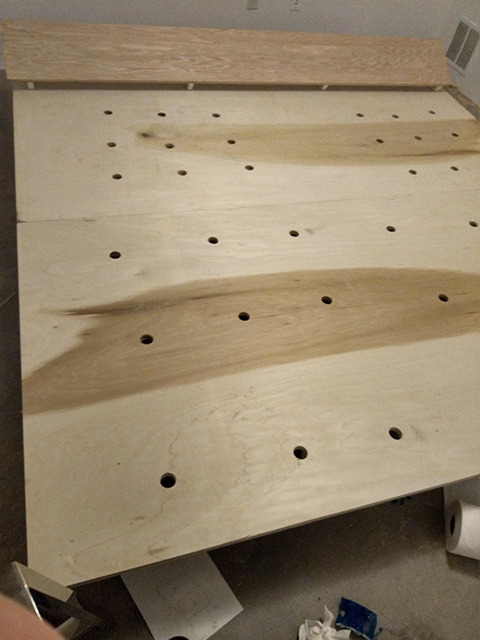
I found a simple bed frame design that only used plywood and Ikea shelf mounts online here and scaled it up to fit my mattress. Because the mattress is 7'x7' and the standard piece of plywood is 4'x8', using two planks for an 8'x8' measurement for the frame worked well. Having 6" platforms on either side of the bed is a nice convenience, and the angled headboard took just under a foot leaving a small amount of clearance at the foot of the bed.

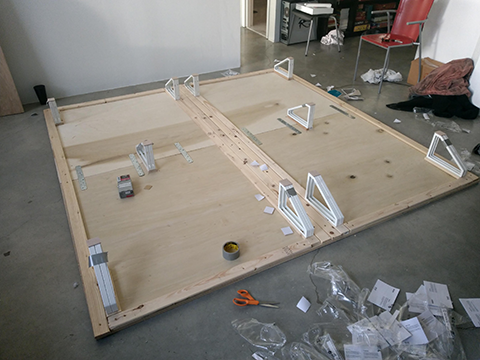
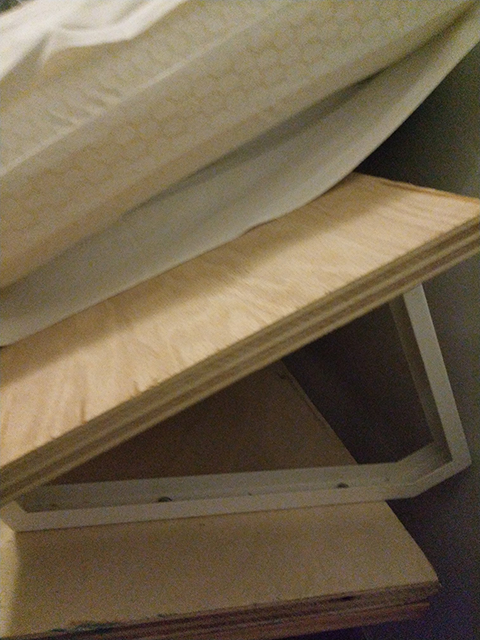
Building the basic frame and moving it to my bedroom. Each leg of the bed is two Ikea frames epoxied together with a little furniture foot pad:
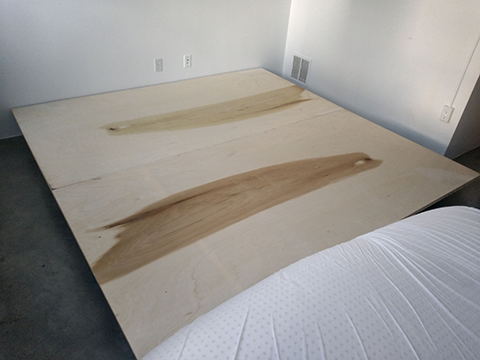
Cut some holes for extra ventillation and added the headboard:
Added some leather and foam to the frame. The pillows resting on the headboard rather than the mattress make it almost as if I have a Caesar bed.

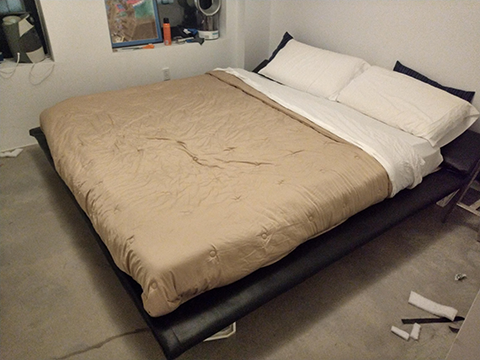
All done!
reassembling the mattress
Just kidding! It's not done.
If you noticed in the earlier photos, the glue holding the buckling column gel almost immediately failed when inserted into the mattress cover and the gel layer was no longer flush with the edge. Over the course of a month or two, the gel retreated more and more toward the center of the bed. On top of that, when on the bed, you could feel gaps between the buckling gel sheets.
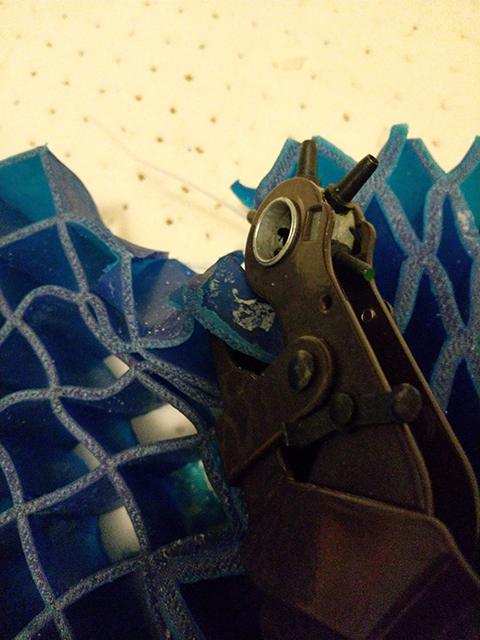
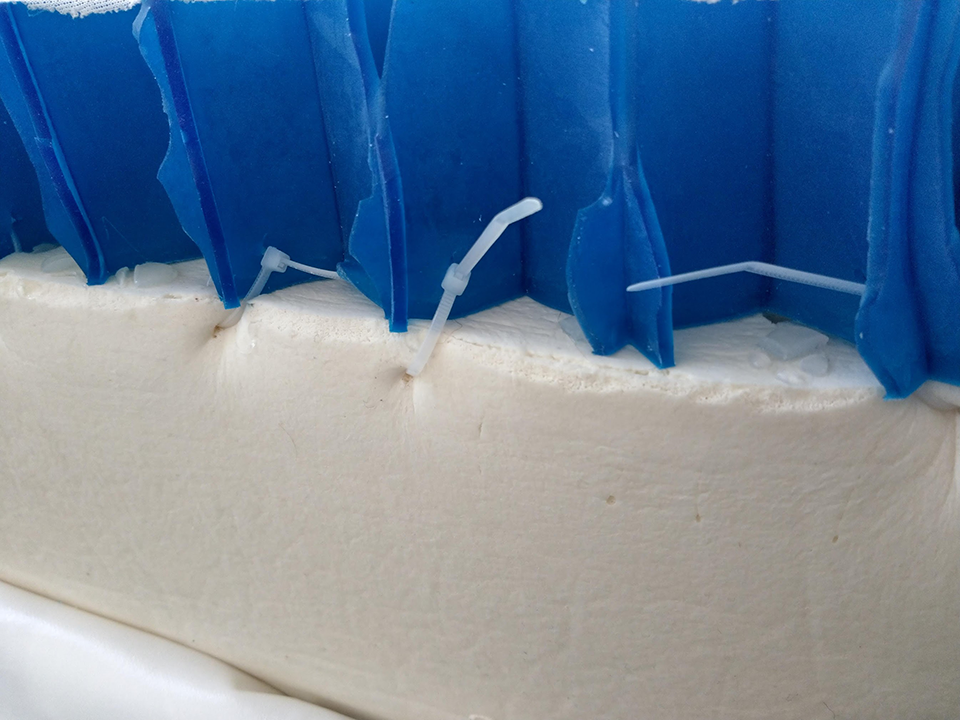
After performing some not-so-rigorous tests on some of my extra buckling column gel, I came to the conclusion that the best way to address this was zip ties. The gel is thick and firm enough that if you push down on it you can't feel a zip tie near the middle of it. So I went and bought a 1000 pack of zip ties, grabbed my leather hole-punch, took apart the bed, and zip tied every intersection in between the sheets of gel. The gel is pretty resilient so it would frequently take a few tries to punch each hole, but that is promising for the quality of the bed itself.
I then placed the gel sheets back in place and zip tied the edges to the latex foam core. Piercing latex foam was a pain as you could stab a hole with a nail and it would just fill itself back in, but eventually it got done.
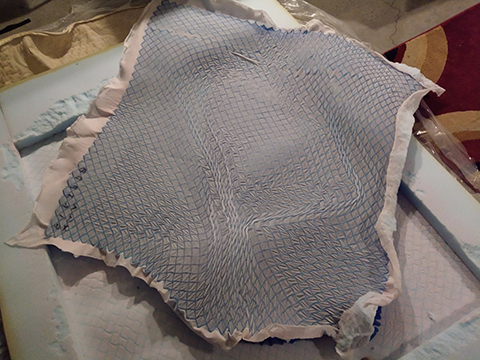
I also added some non-toxic spray adhesive and food-grade caulk around the edges afterwards. If I were to do it again I would have done the adhesives first to get the middle areas for more stability.
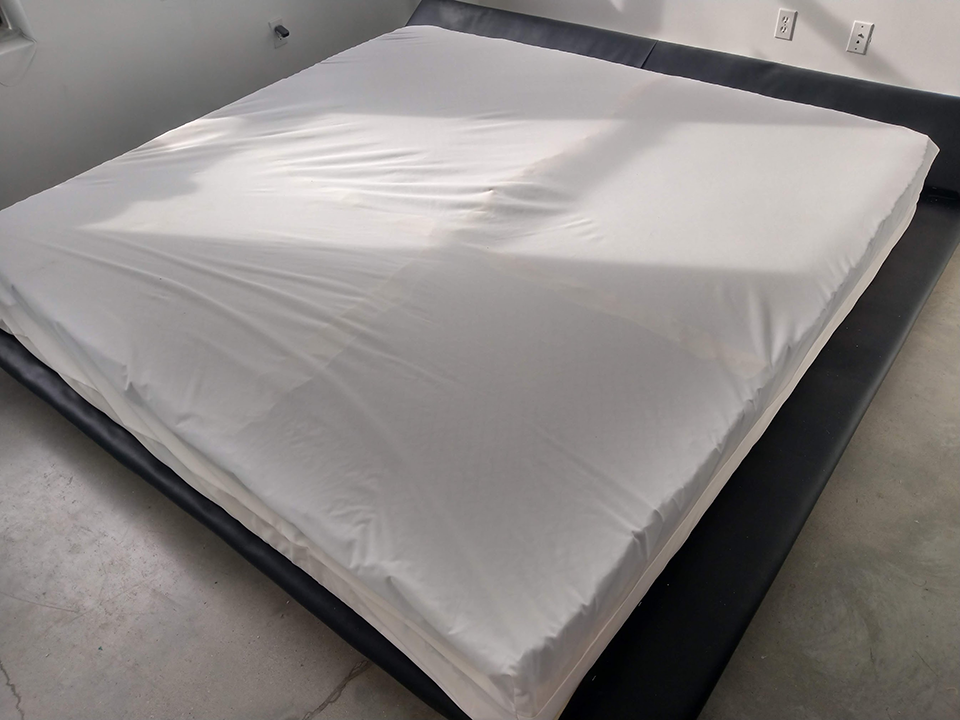
Once back in the encasement, the gel layer remained extended to the edges:
finale
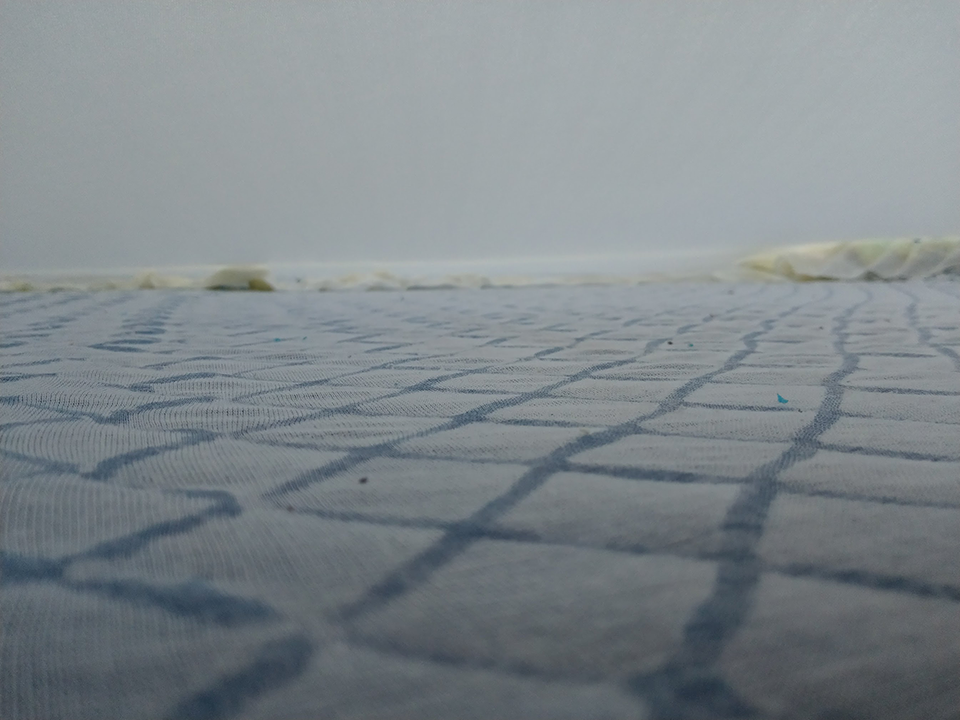
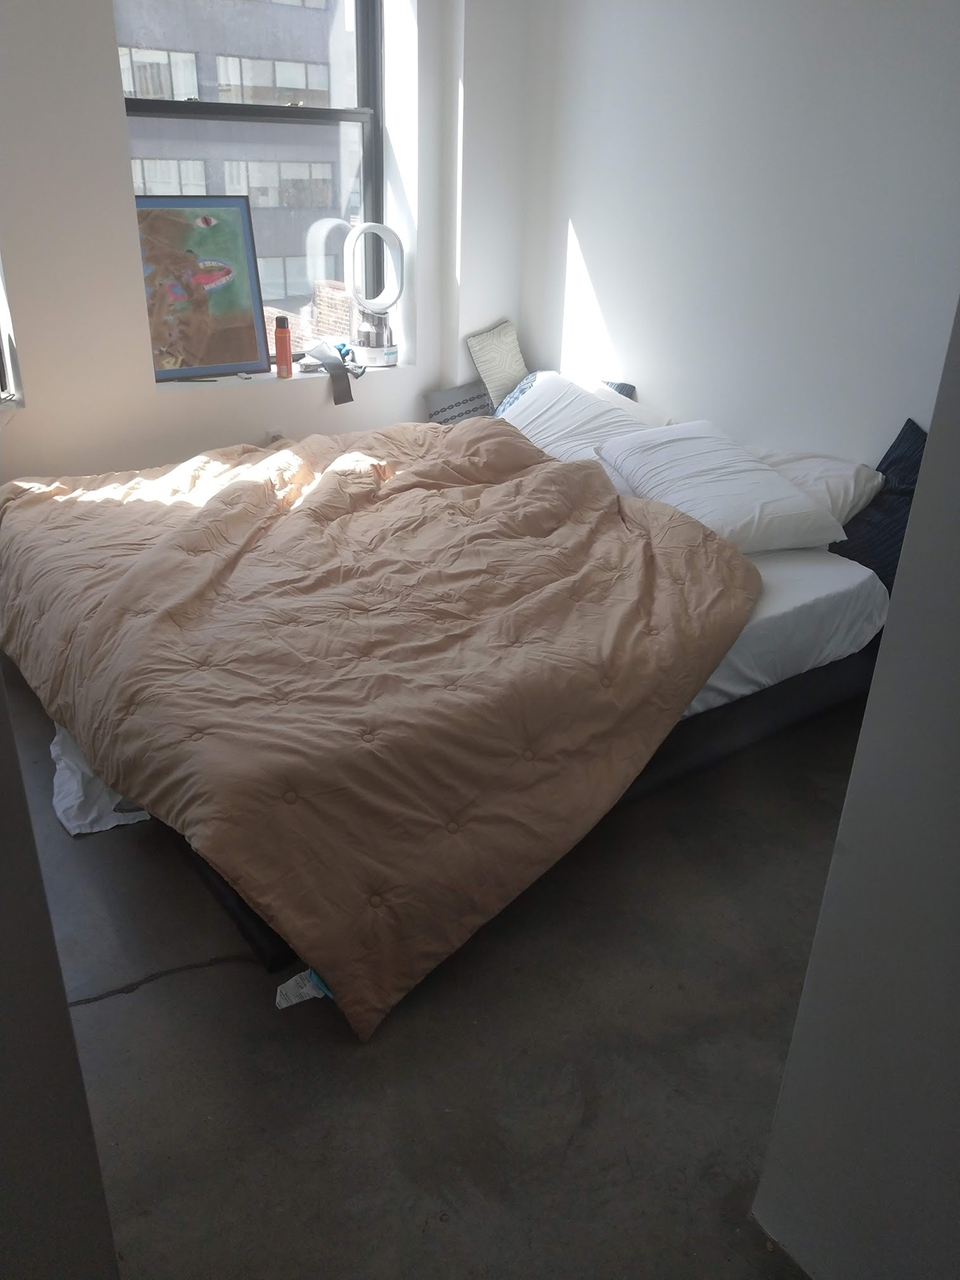
The bed has not had any issues in the months since. The zip ties and the edges between gel sheets are unnoticeable, and it feels like sleeping on a cloud:
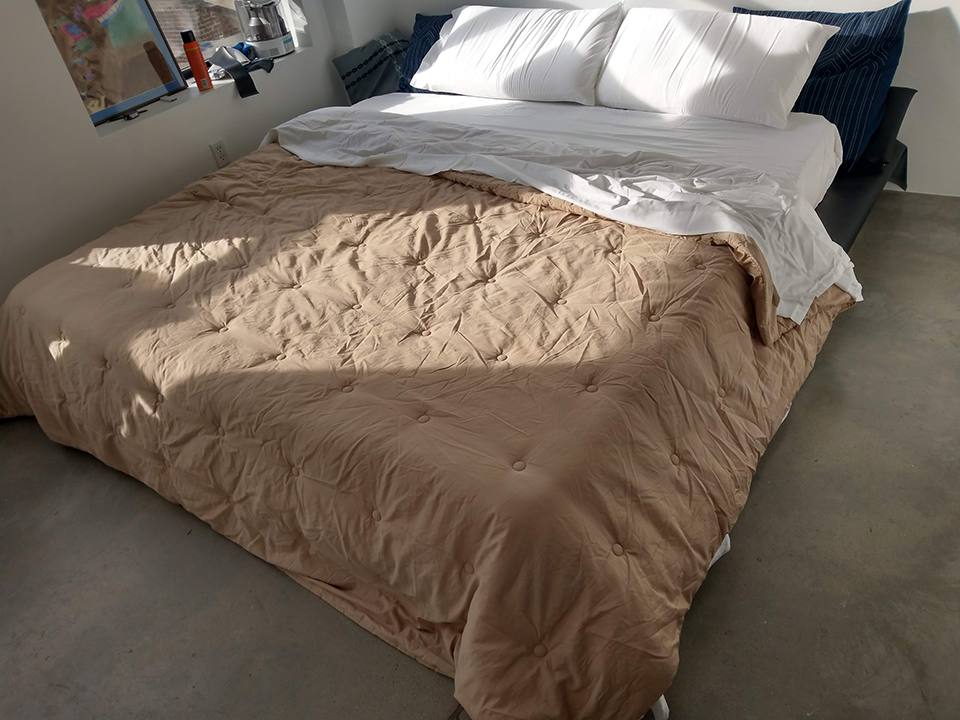
"Action" shot!
footnote